Logo
0
0
Wish List
Main Image
Thumbnail 1

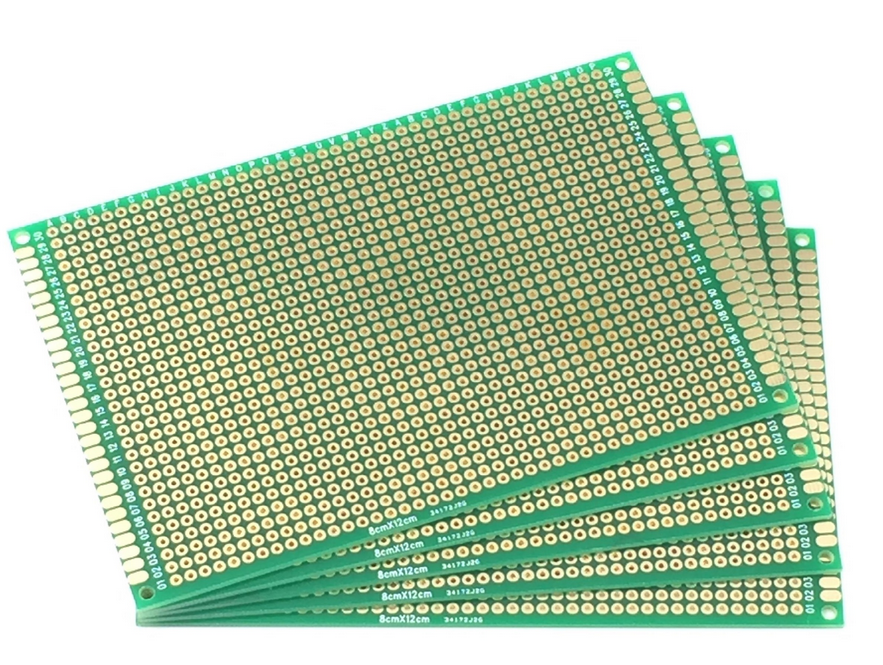
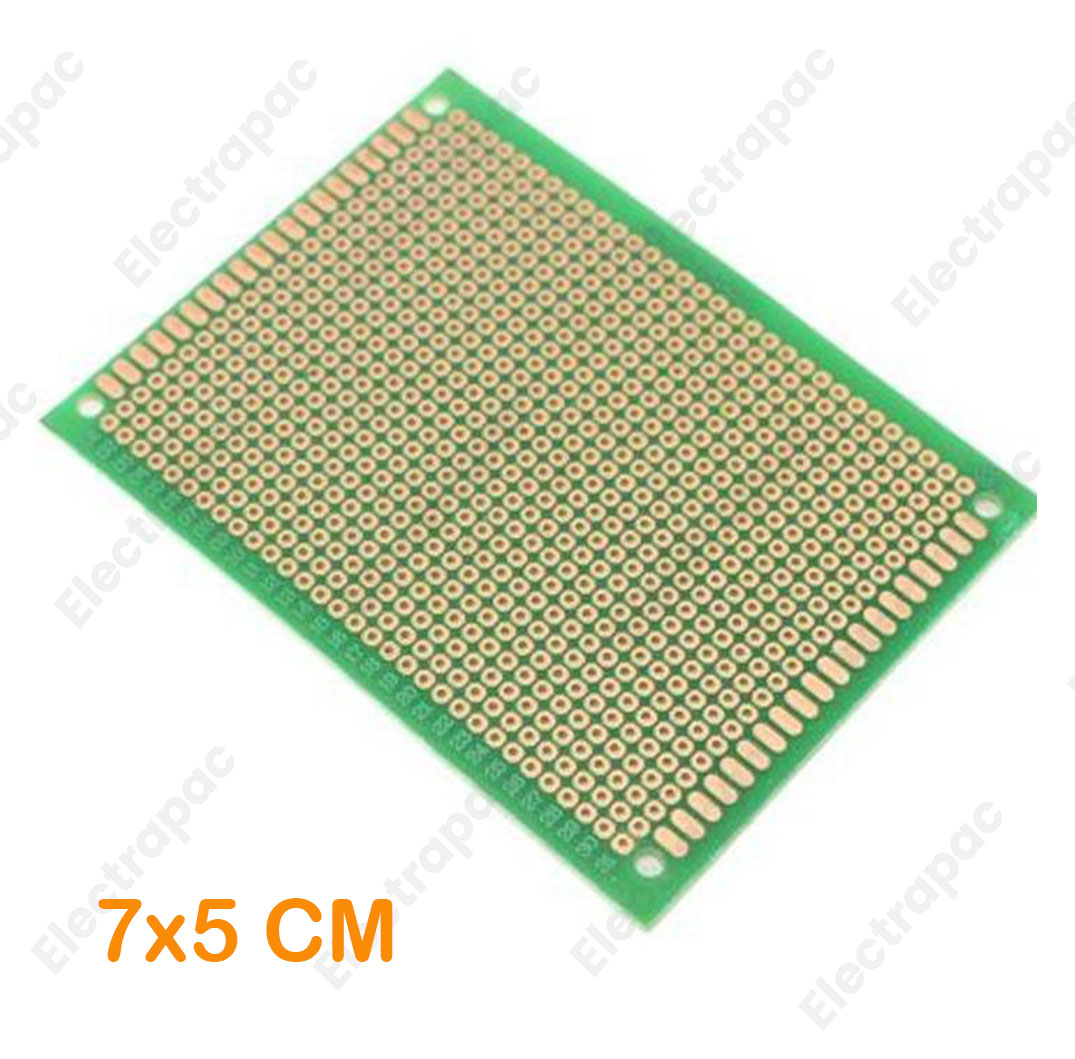
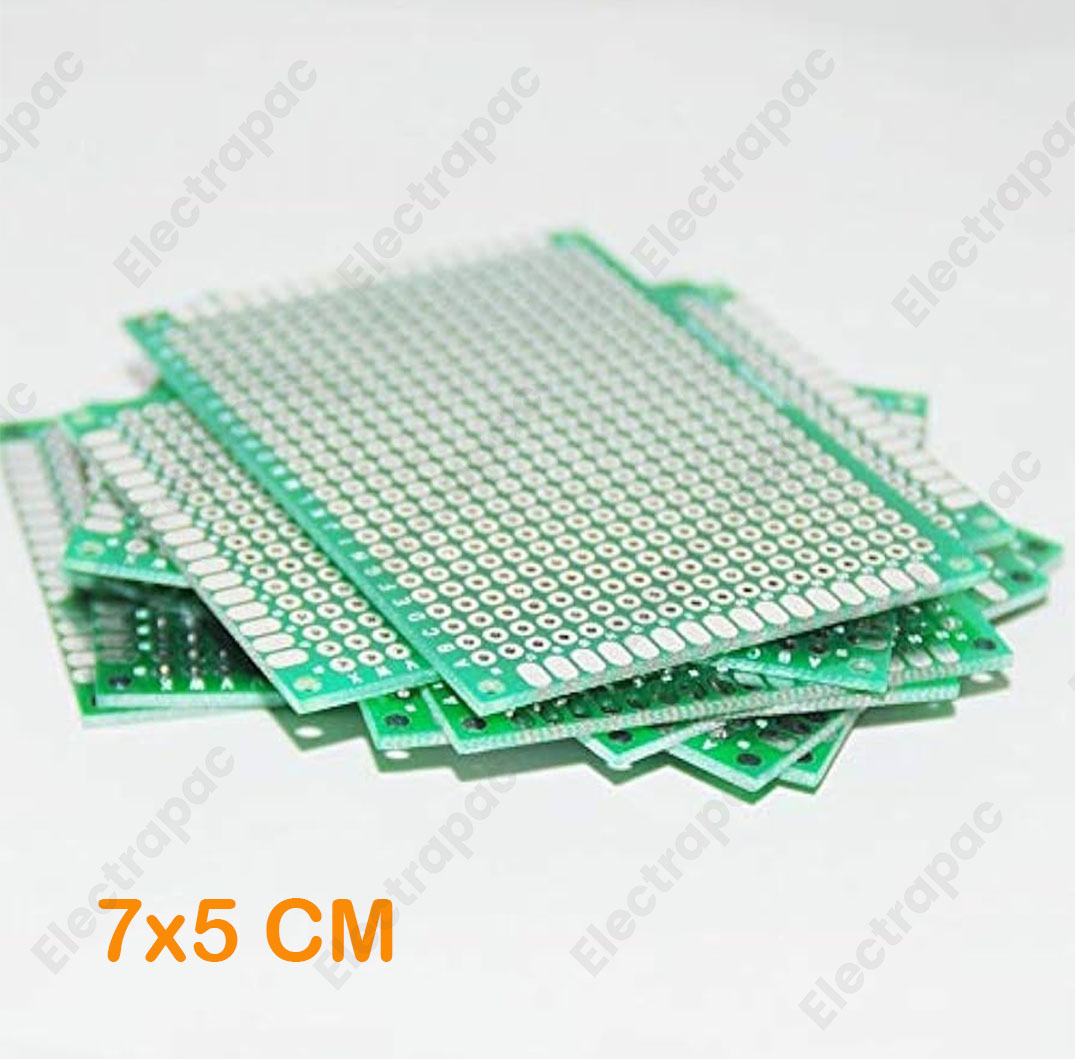
7x5cm Single Side Prototype Universal Printed Circuit PCB Board Veroboard

Ratings 0

৳60

৳52

Brand : Non_Brand

Color Family

Multi Color

Size Int:

Small

Stock Quantity:

8

The Single-Sided FR-4 PCB Prototype Board is an essential tool for electronic enthusiasts, engineers, and hobbyists. Measuring 5x7 cm, this high-quality PCB is designed to facilitate the development and prototyping of electronic circuits. Constructed from FR-4, a robust and versatile glass-reinforced epoxy laminate material, this board offers excellent electrical insulation and durability, making it suitable for a wide range of electronic projects.

Features:

  • Material: FR-4 (Glass-Reinforced Epoxy Laminate)
  • Dimensions: 7 cm x 5 cm
  • Single-Sided: Both sides of the PCB are fully copper-plated, allowing for greater flexibility in circuit design and prototyping.
  • Hole Spacing: Standard grid pattern for easy component placement and soldering.
  • Copper Thickness: 1 oz/ft² (approximately 35 µm), providing good conductivity and strength.
  • Color: Natural copper finish, which can be easily etched or modified.
  • Edge Finish: Smooth, with rounded corners to prevent damage and enhance safety during handling.

Applications:

  • Prototyping electronic circuits
  • Designing and testing custom PCB layouts
  • Educational projects and learning about PCB design and soldering
  • DIY electronics and hobbyist projects

Instructions for Use:

  1. Planning: Start by designing your circuit diagram. Ensure that all components and connections are planned out before transferring your design onto the PCB.
  2. Component Placement: Position the electronic components on the PCB, aligning them with the holes and tracks. Use the grid pattern to help with precise placement.
  3. Soldering: Solder the components onto the PCB. For best results, use a soldering iron with a fine tip to carefully heat each connection. Ensure that there are no solder bridges or cold solder joints.
  4. Testing: Once the soldering is complete, inspect the board for any errors or missed connections. Use a multimeter to check for continuity and verify that the circuit functions as intended.
  5. Finishing Touches: If necessary, use a PCB etching solution to remove excess copper or adjust the board layout. Clean the board with isopropyl alcohol to remove any flux residues.
  6. Assembly: Mount the PCB in your project enclosure or integrate it into your larger system as required.

Safety Tips:

  • Always handle the PCB with clean, dry hands to avoid contamination or damage.
  • Wear safety glasses and work in a well-ventilated area when soldering.
  • Follow proper procedures for disposing of any waste materials or chemicals used during etching or soldering.

Package Includes:

  • 1 x Vero Board 5x7cm

Product Reviews

Related Product

footer